Saturday, March 23, 2024

ISS Lunar Transit Mesquite Texas: Composite Image


As I shared in my last post, I was up in the very early hours this morning to catch a unique event, the International Space Station (ISS) passing in front of the Moon, a lunar transit. What I didn't share in that post is why I used the video mode on my Nikon D750 instead of taking individual photos. 

The D750 is a great camera with some powerful capabilities. It has a top capture speed of 6.5 frames per second. Unfortunately, it can't sustain that speed for long. After about a dozen shots, the buffer fills up and the camera slows to closer to 1 frame per second or even 1 every two seconds. With an event that only lasts about 6 tenths of a second, since the camera only shoots at 6.5 frames per second for about 2 seconds, it would take perfect timing to be able to capture any part of the transit. If I started shooting 4 or 5 seconds too soon or too late, I might miss it all together. 

However, with a video mode of 60 frames per second, I just had to start recording well before the start of the transit and then let it run long enough to be sure the transit was over before stopping the camera. Thankfully, when I was scrambling to finish focusing this morning and realized it was almost time for the transit, starting the video and letting it record for a few minutes was enough to capture the transit and capture far more frames with the ISS than I could have even if the D750 could capture images at 6.5 frames per second indefinitely. Using video has its drawbacks, e.g., things in motion (and the ISS moves incredibly fast) inherently have a little blur, even with a really fast shutter speed, but capturing more images with the ISS in them and having a bit more flexibility in starting/stopping the capture was worth it. Perhaps someday I'll get another chance to do this and will try capturing it with images instead of video. 

To create the image above, I went through the video with Lightroom, selecting each frame with the ISS and exporting it as a JPEG file. I then took these files and opened them in Photoshop as levels. By using auto-align and auto-blend, Photoshop produced a single composite image showing the track the ISS took across the Moon. I decided that the first draft was a bit busy so I did it over again just using every other ISS frame to produce this photo. I also applied some intelligent sharpening to make up for the camera being a little out of focus. It's not great but I am satisfied with it. 

Click on the image to see enlarged. Enjoy!


ISS Lunar Transit Mesquite Texas


I have captured images of the International Space Station (ISS) passing overhead before but I've never captured an ISS transit. Until now!

Every few weeks I check transit-finder.com to see whether there are solar or lunar transits happening nearby. Earlier this week I found that there would be one early AM this morning. 

Lots of things have to come together just right to see the ISS cross in front of the Sun or the Moon. 
  • A location on the Earth where the ISS passes directly in between that location and the Sun or Moon.
  • The ISS has to be close enough to the Earth for its angular size (how big it appears in the sky) to stand out. My sources indicate it's best when the ISS has an angular size of at least 42 arc seconds. 
  • A time of day or night when there will be enough contrast for the ISS to stand out against the given object. For the Sun, this is pretty straightforward but a transit in front of the Moon when it's up during daylight makes for a more challenging capture. 
  • And, of course, you have to be able to see the event so that means little or no clouds. 
The last few times there's been one in the area, the weather didn't cooperate but this time it was pretty clear. The location was within 15 minutes of home and the ISS was forecast to have an angular size of 59.72 arc seconds. 

A little before midnight, I packed up my equipment and Luna in the car and headed to the area where Linda, Lexie and I used to take walks when we lived in Mesquite. With a tripod, mount, telescope, camera and other gear, I needed a spot where I could set up next to the car so I had to scout a few spots looking for a place without too much bright light, on public property, and with a clear view of Polaris (to align the mount) and the Moon. I finally settled on the parking lot at the Palos Verdes Lake Park. Unfortunately, that chewed up enough time that I was still trying to get a sharp focus on the Moon when I realized it was time for the transit. I went ahead and started video rolling, let it go for a few minutes and then packed things up and headed home. 

Today, sitting down with the video I was thrilled to find I had captured it! The focus is not great but it is clear enough to be able to see the ISS moving across the face of the Moon. The entire event was just over a half a second so shooting at 60 fps I caught about 30 frames of the ISS. 

I'm sharing the video for now. Later, I'll work on putting together a photo that captures the entire event in one image.

Be sure to watch full-screen for the best view of the transit. 

In the meantime, here are the technical details:
SkyWatcher Evostar 72ED
0.85 Focal Reducer/Flattener
2X Teleconverter
Nikon D750 (DX mode)
Deep Sky Dad AF3 focusing motor
60fps video at ISO 3200 1/4000th second shutter speed
SkyWatcher Star Adventurer GTi mount
Radian Carbon Fiber tripod
Edited in DaVinci Resolve 

Event details:
See transit-finder.com screenshot below. The centerline crossed the trail just north of Northwest Drive. I captured this video from the park parking lot (not shown in this diagram but it's at the northwest tip of the lake).


Monday, March 18, 2024

Countdown to April 8th: Sun Funnel Project

As I mentioned in my last post, I have a lot of irons in the fire for the April 8th 2024 total solar eclipse! One of those is all about viewing the overall eclipse: building a "Solar Funnel" or "Sun Funnel". 

Our old telescope,  a Parks 60mm refractor we bought about 30 years ago, happens to be on an equatorial mount and has a sidereal motor. All that means is that I can point it at something in the sky and the motor ensures that the object remains in the eyepiece (with only an occasional need to adjust the direction the telescope is aimed). 

Normally, we would never point a telescope at the Sun without a solar filter but in this case it is OK: we won't be looking directly into the eyepiece. Instead what would appear in the eyepiece is projected onto a piece of rear-projection screen material, allowing us to see it safely. Better yet, more than one person can watch at the same time!

We have used a similar approach in the past, projecting the Sun onto a white piece of poster board to check out sunspots but that was kind of cumbersome. This Sun Funnel design is much easier to use. 

Ironically, while the Sun Funnel does a great job of showing the solar disk including sunspots and the Moon taking a bigger and bigger "bite" out of the Sun during the partial phase of an eclipse, it won't be something we'll pay any attention to during the "Big Show"; it will be useless during totality since the Sun will have disappeared behind the Moon!

Still, the partial phase of the eclipse lasts hours compared to totality which only lasts minutes so the Sun Funnel will get a lot of use on the 8th. 

If you have a small telescope (even if it doesn't have a motorized mount) and you'd like to build your own Sun Funnel, they are pretty simple to make and don't cost much, either. One of the most commonly referenced sets of instructions is this one from American Astronomical Society, Nightwise.org and NASA:


It has full instructions on building it, how to use it and details like the calculations for how to determine the right size eyepiece for using a Sun Funnel on your telescope. 

I finished ours the other day but today was the first time the Sun was out long enough for me to test it. If you look closely at the second picture (click on it to see enlarged), you'll see that the bright circle in the middle is the Sun, pretty much filling the entire field of view. You'll also see a number of sunspots, several just above center and another one down at the bottom.

Whether you build your own Sun Funnel or not, I hope you will be someplace in the path of the eclipse on April 8th and wish us all "clear skies"!


Saturday, March 9, 2024

Countdown to the April 8th 2024 Total Solar Eclipse!

It's just a month away! Actually, as of the time of this post, the next total solar eclipse visible from North America is 30 days 10 hours and 43 minutes away!

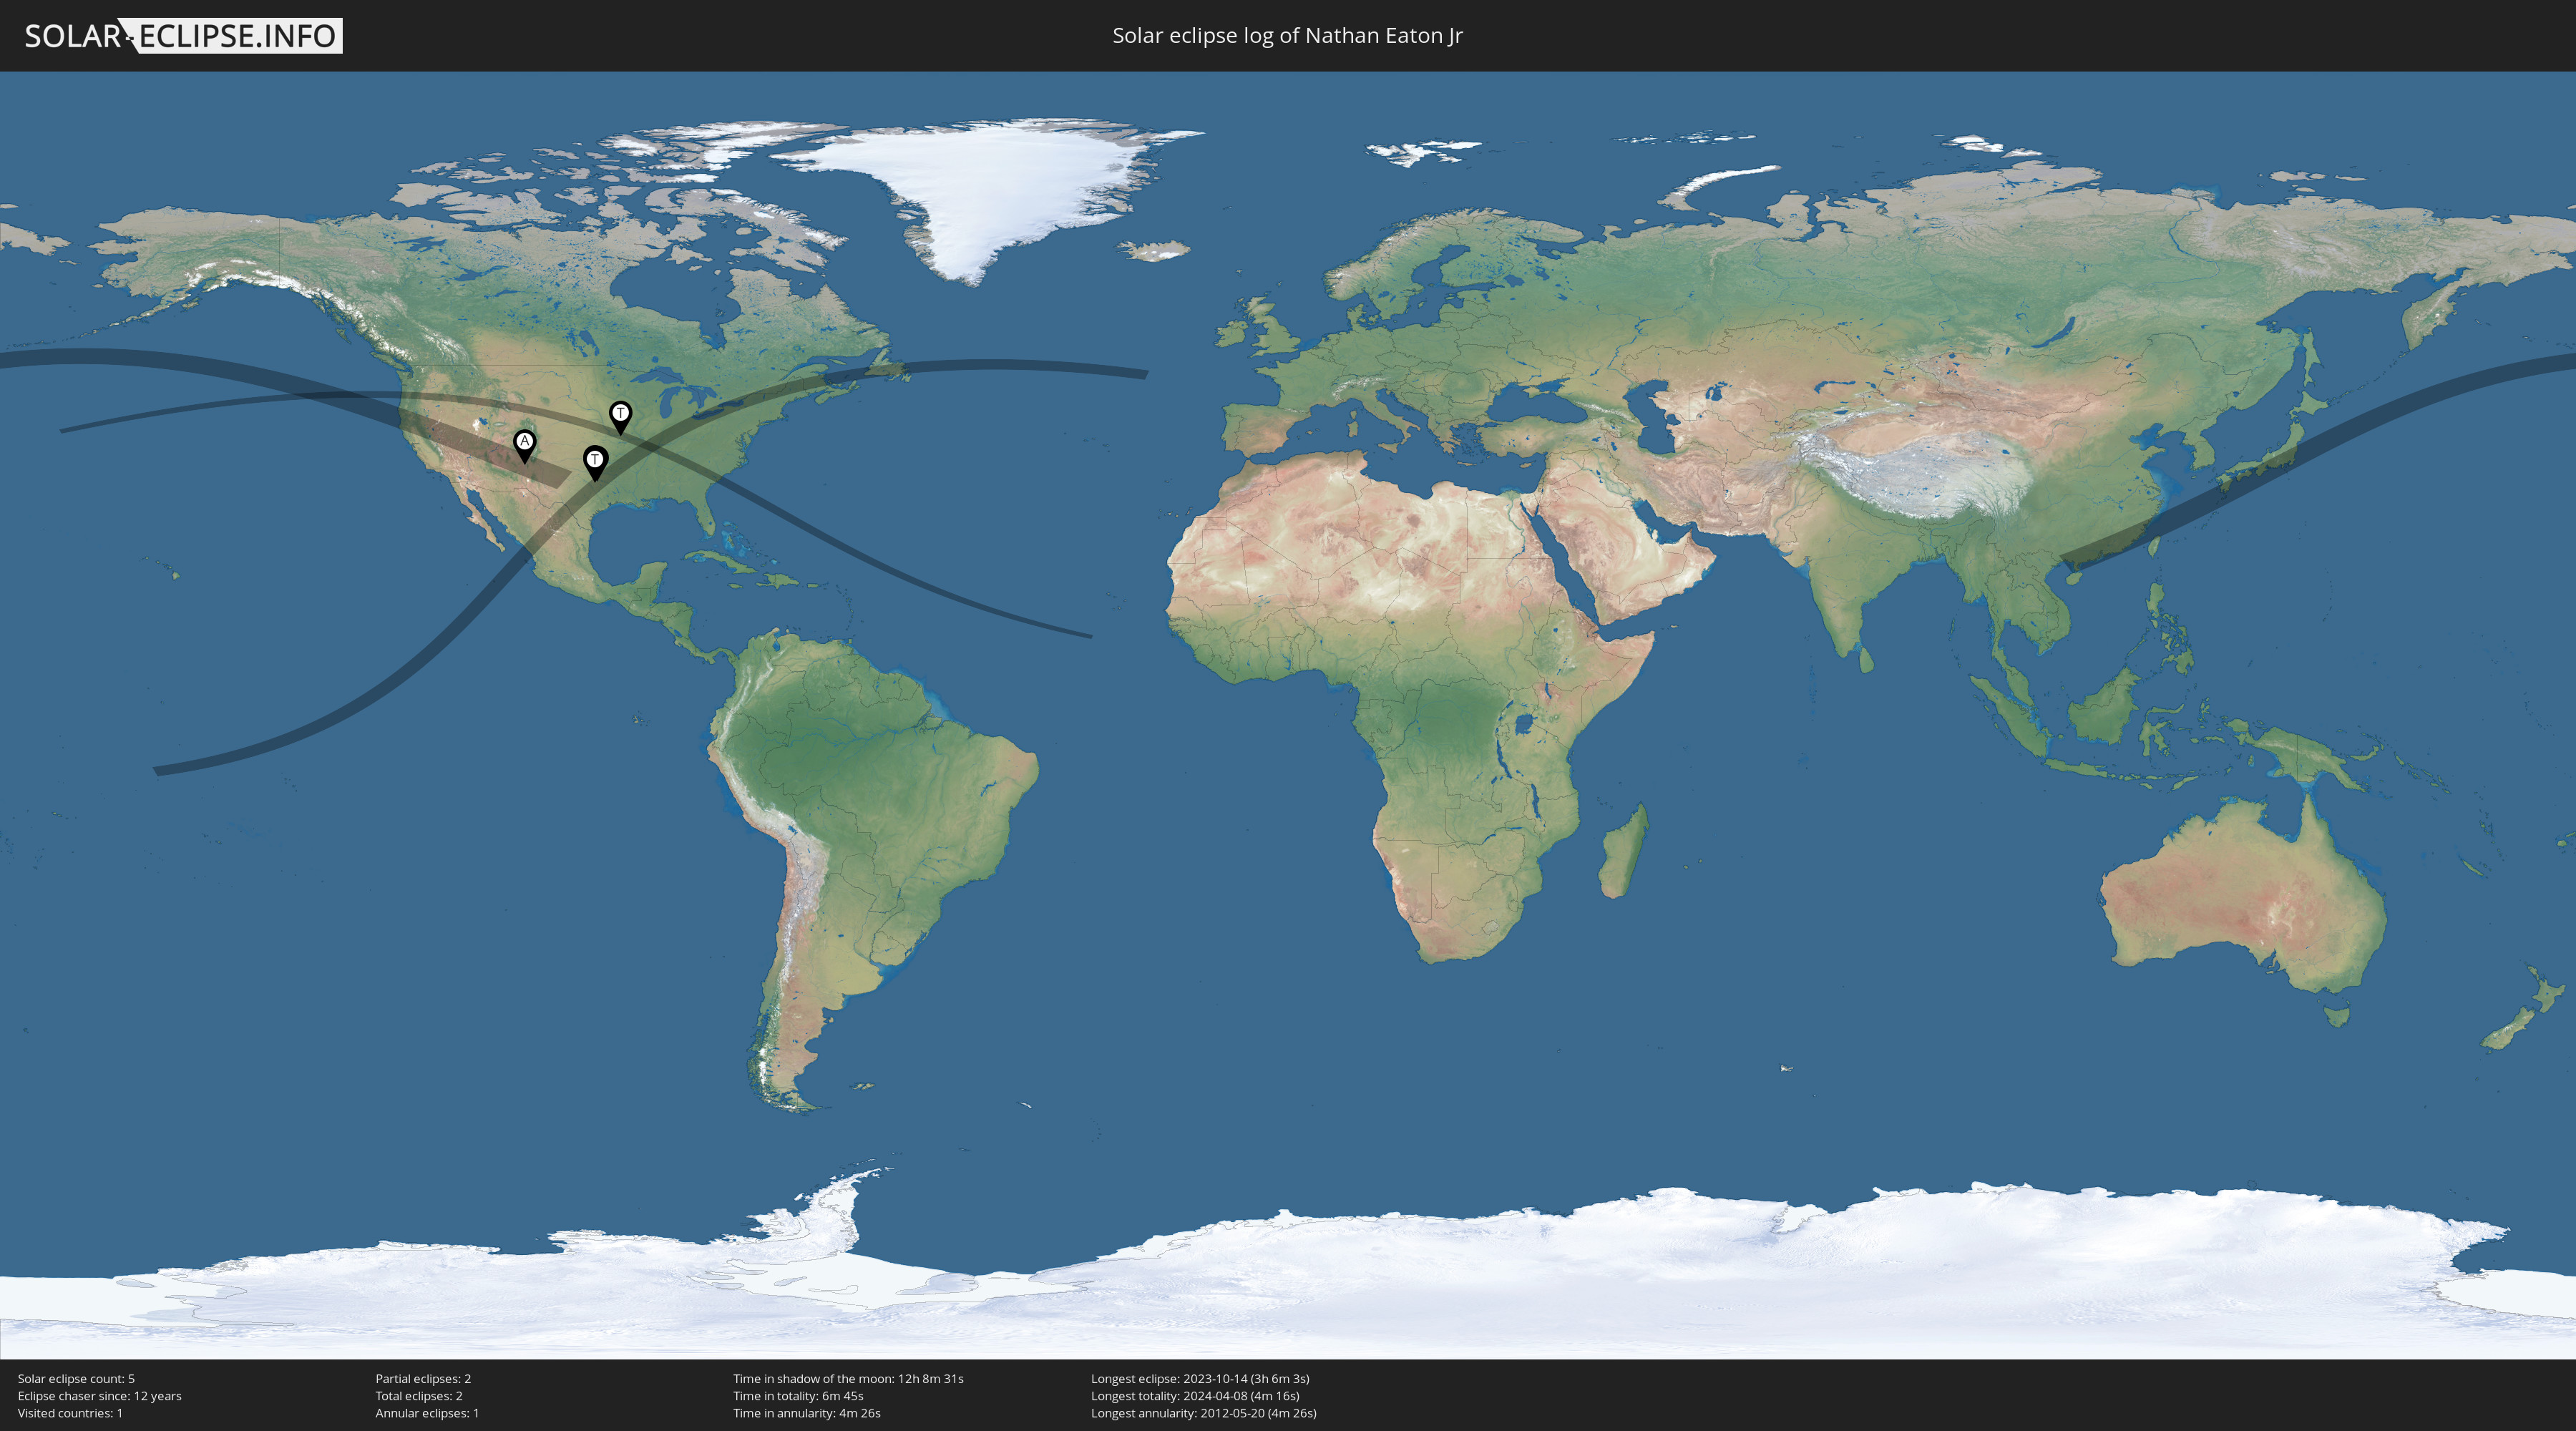
Although we had to travel to see the Great American Eclipse in 2017 - the first and only total eclipse I have seen so far - this time the eclipse is coming to us. In fact, we could just step outside in our back yard in East Dallas and enjoy almost 4 minutes of totality. However, we have family a little south of here who live closer to the centerline and will get 4 minutes and 16 seconds of totality so our plan is to spend the day with family enjoying the view. As long as the weather cooperates, of course!

The last time, I was hoping to capture images with a long lens and also a wide angle time lapse. See link above for posts about that experience but unfortunately I had to skip taking pictures to still be able to see the eclipse with my own eyes (something everyone needs to see at least once in their lives). I did get the wide angle time lapse with a glimpse of totality through the clouds but the real treat was seeing it. 

This time I hope to both see totality as well as capture the experience through many other means. The primary goal is to capture the full eclipse, start to finish, through our small telescope, shooting with a solar filters for most of the eclipse and removing it only for those few minutes where the Moon has fully eclipsed the Sun. 

The list of other ways I plan to capture the eclipse isn't final and I am sure I'll have to give up on some of my plans but right now, in addition to the telescopic images, my tentative plans include:
  • a wide angle time lapse of the eclipse from beginning to end with our son's family chicken coop in the foreground
  • a long-exposure shot on film with a Brownie camera (a family heirloom) outfitted with a pinhole lens
  • the family being able to view the sun, sunspots and eclipse through a solar funnel attached to our other small telescope
  • video of shadow bands on a white sheet
  • aerial video captured with a drone of the lunar umbra moving across the landscape 
  • data collection before, during and after the eclipse using a variety of home made digital sensors based on a low-cost microprocessor called an ESP32, collecting information on the environment (temperature, humidity, pressure), sound levels, light levels and light color spectrum 
Stay tuned for more updates on my progress getting all this ready to go!